How to Download and Use Your FLIP Insurance Badge

6 Ways to Use Your Insurance Badge for Brand Credibility
In the food and beverage business, one of the most important ingredients in the recipe for success is trust. Establishing yourself as a credible business is critical for attracting and retaining customers, and displaying your insurance badge is a great way to accomplish this.
Letting your customers know about your insured status shows them that you’re committed to their well-being and can help you gain new customers or clients.
There are several ways to use your badge to show your insured status. You can:
- Add it to your website as a site seal (more on how to do this below)
- Include it as an overlay on a social media ad
- Display it on your business’ signage at a farmers market booth
- Add it to your menu
- Put it on your business cards
- Include it in your business email footer
When customers see your insurance badge, they’ll know that you have a safety net in place in case something goes wrong, which can give them peace of mind.
How to Add a FLIP Site Seal to Your Website
Want to add a FLIP insurance badge to your website but not sure how? We’ve got you covered. Simply follow these steps to find your site seal and add it to your website today:
- Log in to your dashboard and click ‘My Account’ in the top right.
- Under ‘My Profile,’ choose ‘Add Site Seal To Your Site.’
- Pick a design and click ‘Copy Code.’
- Put the verified code onto your website, such as in a widget on the footer or your blog’s sidebar (or both).
- Save or click to publish to update your site to make it live.
If you’re running into issues correctly displaying your badge, you may not have copied the complete code. Use a free code checker to make sure what you’ve copied over will work and follow these steps:
- Clear the window on the left side of any existing code.
- Take the code you copied from your account and paste it into this window.
- Hit the green ‘Run’ button to verify the code.
- If the code is correct, you should see the insurance badge appear in the window on the right.
Where to Put Your Seal On Your Website
Once you have the code for your insurance badge, it’s time to figure out where to display it on your site. The perfect location may depend on your site design and layout, but there are a few locations that are more effective than others.
Homepage Banner
Many sites include some kind of banner on the homepage that immediately grabs the attention of anyone visiting. This could be an image, text, graphic design, etc. Regardless of how it looks, it’s the first thing people see when they visit your site, so including your insurance badge here ensures people will see it. It’s a great way to establish trust right off the bat, which is key to running a successful food business.
Website Footer
Website footers are often overlooked as a prime spot for including site seals because they aren’t as flashy as the homepage banner. However, the footer is present across all pages of your website, not just the homepage. Footers are also a common place for businesses to place site seals and other verification badges, so visitors are used to seeing this kind of information there.
Checkout / Point of Sale Confidence
If you sell products online or have an online ordering system, prominently displaying your insurance badge during checkout can keep customers from abandoning their cart. An Actual Insights survey found that 61% of customers reported not completing a purchase because the website lacked site seals, showcasing the importance these seals play in building trust.
From payment security to knowing you take the quality of your products seriously, including your badge here can give customers the confidence they need to complete their purchase.
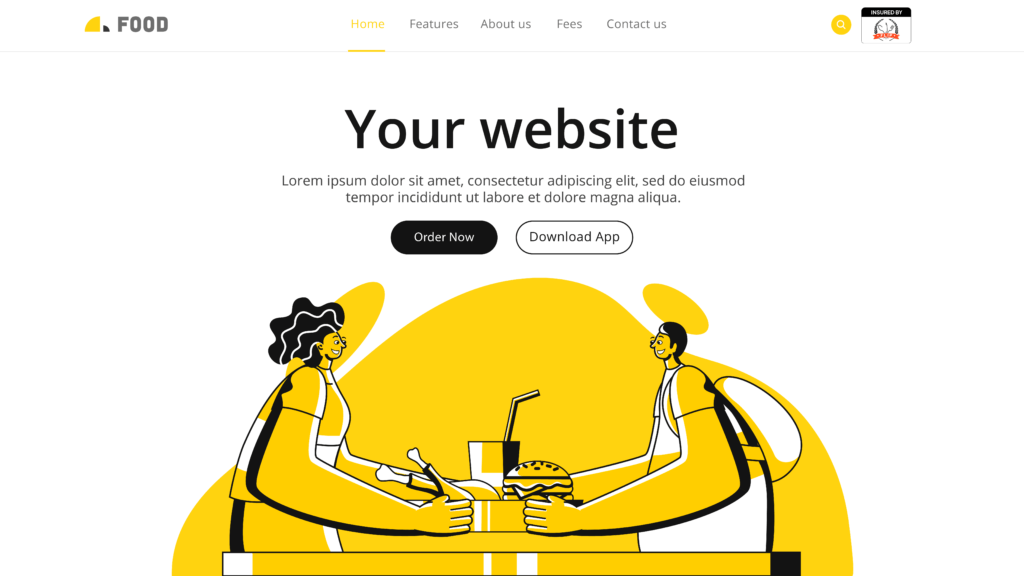
Next to Call to Action Buttons (CTAs)
If you have an online storefront or allow online booking, position your insurance badge near call to action (CTA) buttons like “Order Now” or “Book With Us Today.” When visitors are taking the desired action on any page, they’ll be met with a pledge of security. This creates a visual link between user actions and the assurance of security, subtly boosting confidence in taking the next step.
Contact and About Us Pages
Your website serves as an excellent resource for customers to learn more about your business through ‘About Us’ and ‘Contact’ pages. Including your FLIP insurance badge on these pages is a nice way of reinforcing your commitment to building a trusting relationship with your customers through security and integrity.
Strategic Touchpoints
Product pages, confirmation emails, and other points of the user journey can all be great opportunities to include your insurance badge. While it isn’t necessary to include on every page, strategically adding this badge helps reinforce the message of trust you’re trying to send to your customers.
How to Add Your Badge to Popular Website Builders & CMS Platforms
The process of integrating your FLIP site seal is straightforward, requiring only a few steps to work your web magic in the backend of your chosen website builder or CMS platform.
Wix
Adding a badge to a Wix website is easy:
- Go to the Site Badges app in the Wix App Market.
- Add this to your site.
- Select the Site Badges app in your Editor.
- Go to Settings.
- Click “Set Up Badge.”
- Upload your insurance badge.
Squarespace
To add a badge in Squarespace:
- Decide you want to add the badge, then click “Add Block” and choose “Code.”
- Click the pencil icon to edit block and remove the default code from the box.
- Paste your badge code into the box, including the < > marks at the start and end.
- Click outside the code box, then click “Save and Exit.”
Shopify
There are multiple ways to add trust badges in Shopify. Here’s one of the simpler methods:
- In Settings, click on “Files” and upload your badge.
- In “Online Store” choose “themes.”
- Click on “Actions”and then choose “Edit code.”
- In “Sections,” find “main-product.liquid.”
- Edit the code as needed and don’t forget to click “Save.”
Weebly
- Copy the badge code from your FLIP dashboard.
- Open the Weebly editor and drag and “Embed Code” widget to where you want the badge to display.
- Double-click the Embed Code box and paste your code.
- Click outside the box and publish to save your changes.
GoDaddy
To add a trust seal to your GoDaddy site:
- Navigate to the Footer Widget section.
- Create a new text widget.
- Copy and paste the trust badge snippet into the widget.
- Save and publish.
IONOS
To add your seal in IONOS:
Copy the badge code and paste it into an HTML field/widget, then save your changes.
WordPress
To add the badge to a footer or sidebar widget:
- Upload your badge to your Media Library.
- Add an image and choose the badge from your Media Library; or,
- Copy the badge code from your dashboard and add an HTML widget to your footer or sidebar, then paste the code in.
- Save and publish.
Joomla
Add your insurance badge to your Joomla CMS:
- Log In to Joomla Administrator.
- Choose an existing or create a new Article.
- Access the Editor.
- Inside the article editor, find the “Toggle” button at the bottom right corner of the interface and click.
- Copy your FLIP badge HTML.
- Insert the Code.
- Hit the Save button.
Drupal
Adding an insurance badge with Drupal:
- Navigate to the admin panel where you manage your site’s content and layout.
- In the main menu, find and click on “Structure.”
- Choose Content Type or Block Layout (depends on where you want to put the badge)
- Insert the Image: In the content type or custom block editor, look for the option to add or insert an image.
- Upload your insurance badge image from your device or a URL.
- Custom block: place it on a specific region of your site in “Block layout.”
- Content type: save the changes in the content type editor.
- Save and publish.
The exact steps and options may vary depending on your Drupal version and the specific theme or modules you’re using.
HubSpot CMS
Add an insurance badge to your HubSpot CMS:
- Choose the specific page or section where you want to display your insurance badge.
- Add an HTML widget where you want the badge and copy and paste in your badge code.
- Save and Publish.
Magneto
How to add your insurance badge in Magento:
- Go to “Stores” and then “Configuration.”
- Under “Mageplaza Extensions,” select “One Step Checkout.”
- Locate “Seal Block” and activate it.
- Select “Select Static Block” to use a pre-made content block for your trust badge.
- Opt for “Use Default Design” to customize the trust badge directly.
- Click “Save Config.”
- Place your FLIP badge.
- Save and publish.
BigCommerce
Add your insurance badge using BigCommerce:
- From your BigCommerce Dashboard, choose the specific page or section where you want to display the insurance badge.
- Edit the backend of the page.
- Place your badge code’s HTML.
- Save and publish.
Put the Cherry on Top of Your Site With Your FLIP Insurance Badge!
Start building trust with your visitors by adding your FLIP insurance badge to your website today. If you have any questions or need assistance installing your site seal, please contact us—our licensed agents are always happy to help!